[CNC Project] Winter Vibes! DIY "Snowflake Gradient" Christmas Tree with HiMill D1S ❄️🎄
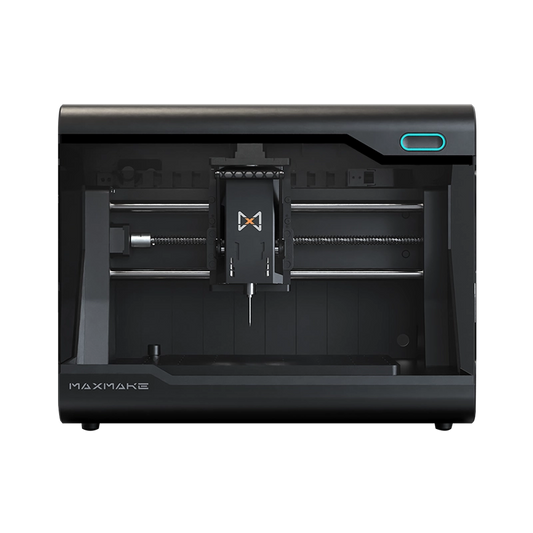
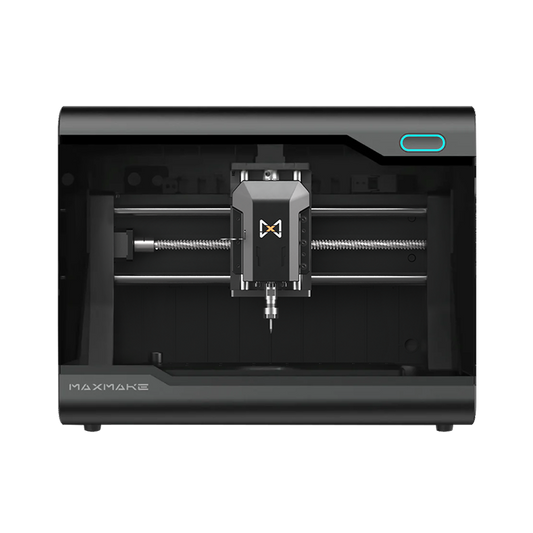
In the season of falling snow, how can you go without a Christmas tree that has its own "Frozen" filter? Today, I’m sharing how to use the HiMill D1S Desktop CNC to transform ordinary plywood into layers of delicate snowflakes.
Combined with a gradient paint job, this exquisite snowflake tree is a perfect winter centerpiece. Full tutorial and DXF files included!
Project Overview
- Project Name Snowflake Layered Christmas Tree
- Equipment HiMill D1S Desktop CNC
- Material 3mm Basswood Plywood
- Difficulty ⭐⭐⭐ (Requires precision & patience)
- Machining Time Approx. 2 Hours
Preparation
The soul of this project lies in the "layering and spacing" of the snowflake components.
🧰 Bits & Tools
- CNC Routing: 3.175mm (1/8") Single-Flute Spiral Up-cut Bit.
- Laser (Optional): The D1S Laser module can also be used for high-speed engraving.

🪵 Bill of Materials (BOM)
- Stock: 3mm Plywood (Basswood is recommended for its clean finish).
- Spacers: ~12 wooden beads (20mm diameter) for layering.
- Support: Solid wood base and a center dowel/metal rod.
- Finishing: Acrylic paints (Deep Blue, Sky Blue, Light Gray, White).
Design & CAM Programming
This tree consists of 10 layers of snowflakes in descending sizes. Precision in the center hole is vital for the rotation mechanism.
Step 2.1: Vector Design
- Bottom Layer: ~150mm diameter.
- Top Layer: ~45mm diameter.
- Hole Diameter: 8.5mm center hole for the main axis.

Step 2.2: CAM Settings
- Spindle Speed: 13,000 RPM
- Feed Rate: 800 mm/min
- Laser Mode (Alternative): 90% Power, 5mm/sec speed.
💡 Pro Tip: Because the snowflake cutouts are intricate, make sure to add "Tabs" (Bridges) in your CAM software to prevent pieces from vibrating or shifting during the final pass.
Machining Process
- Workholding: Secure the board firmly using clamps or the blue tape/CA glue method.
- Nesting: Lay out all 10 sizes on a single sheet to maximize material efficiency.
- Cutting: The HiMill D1S handles the sharp corners of the snowflakes with remarkable stability.
Post-Processing & Gradient Painting
- Sanding: Remove tabs carefully. Use sponge sandpaper to reach the intricate snowflake tips.
-
Gradient Technique: Group your snowflakes from largest to smallest.
- Base layers: Deep Blue / Slate Blue.
- Middle layers: Sky Blue.
- Upper layers: Pale Gray to Pure White.

Assembly
Assembling the tree is as satisfying as building blocks:
- Mount the center rod to the base.
- Follow the order: Large Snowflake -> Bead -> Smaller Snowflake -> Bead.
- Repeat until the summit and finish with a decorative star or bead.

Final Showcase
The result is a stunning Nordic-style desk ornament. The beads provide "room to breathe," allowing for beautiful light and shadow effects when the tree rotates.

📥 Download the Resource
Get the DXF files and start your winter project today!
Download Snowflake Files
HiMill D1 Desktop CNC Machine
Connect with the MAXMAKE community
Share your projects, discover new ideas, and connect with other makers.
Join Our Community
Share projects, ask questions, connect with makers