DIY 3D Relief Moon Lamp with HiMill D1S CNC (+ Free Project Files)
"When your fingertips trace the craters of the moon, technology gives romance a tangible texture right on your desktop."
Project Overview
Utilizing the high-precision relief machining capabilities of the HiMill D1S desktop CNC, we transformed an ordinary nylon board (or translucent material) into a highly realistic lunar surface. Paired with an LED backlight, it’s not just a craft piece—it’s a gentle glow of moonlight for your desk.
| Project Name | DIY 3D Relief Moon Lamp |
|---|---|
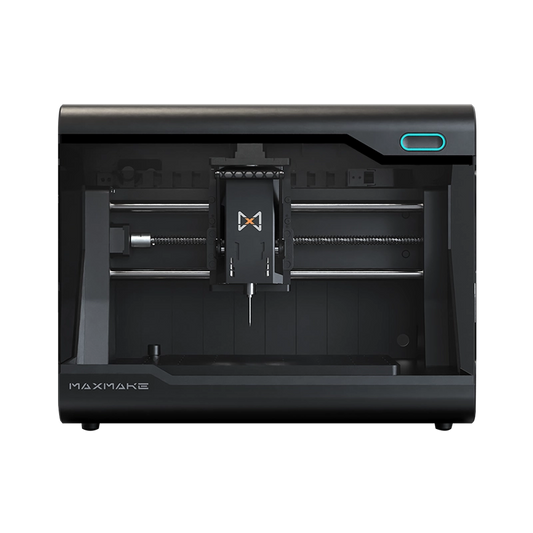
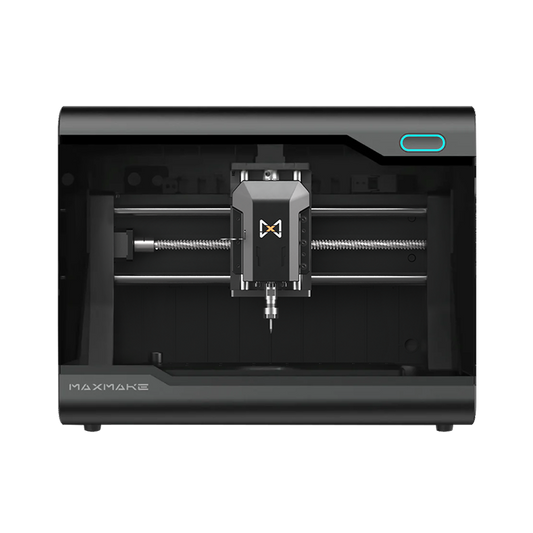
| Machine Used | HiMill D1S Desktop CNC |
| Core Material | High-density nylon board / Translucent white acrylic |
| Final Product | Desktop night light, 3D relief art piece |
| Machining Time | Approx. 8 hours |
| Difficulty Level | ★★★☆☆ (Key challenge: Dual-tool change and setting 3D finishing parameters) |
Stage 1: Prep & Design
The core of the moon lamp is accurately recreating the lunar texture. We used a high-quality 3D moon terrain STL model and planned the toolpaths using ArtCAM/Carveco.
Tool List:

Stage 2: CAM Settings
Based on the undulating features of the moon's surface, we adopted a "Roughing + Finishing" strategy. Here are the tested and stable parameters:
1. 3.175mm Single Flute Spiral End Mill (Roughing / Profiling)
Stepover: 2.54 mm
Stepdown: 3 mm
Feed Rate: 1000 mm/min
Plunge Rate: 1000 mm/min
Spindle Speed: 13000 r.p.m
2. 1.5mm Ball Nose End Mill (3D Relief Finishing)
Stepover: 0.15 mm (An ultra-small stepover ensures a fine, smooth texture)
Stepdown: 1 mm
Feed Rate: 1200 mm/min
Plunge Rate: 1200 mm/min
Spindle Speed: 12000 r.p.m

Stage 3: Machining

Stage 4: Post-Processing

The Result
This is a miniature laboratory of touch and vision.


HiMill D1 Desktop CNC Machine
Connect with the MAXMAKE community
Share your projects, discover new ideas, and connect with other makers.
Join Our Community
Share projects, ask questions, connect with makers