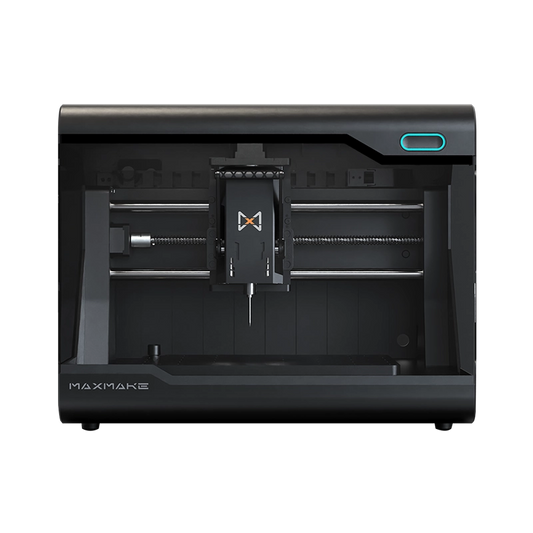
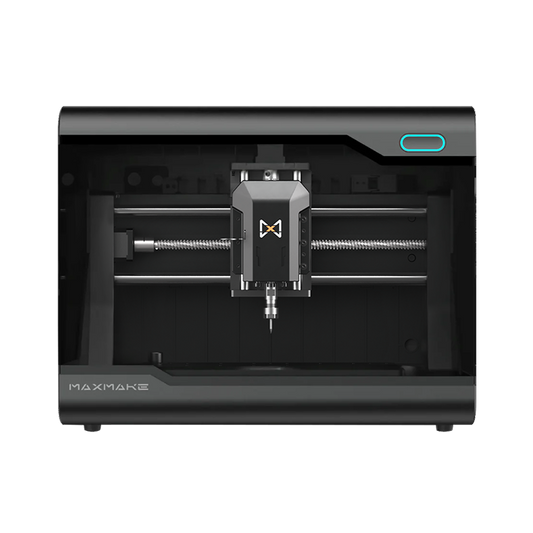
DIY Cyberpunk Bracelet: Machining Leather & Brass on the HiMill D1S ⚙️
19 May 2026

CNC isn't just for hard materials. Today, we're using the HiMill D1S to blend vegetable-tanned leather with precision brass engravings.
🛠️ I. Project Overview
- Project Name DIY Retro Pentagram Leather Wristband
- Equipment HiMill D1S Desktop CNC
- Core Principles Metal Relief Engraving + Leather Profiling + Precision Drilling
- Cycle Time Approx. 8 Hours
-
Difficulty ★★★★☆
(Advanced — cutting irregular leather shapes is tricky)
- Materials 5.5mm Brass, 1mm Leather, Vintage Buckle, Rivets, Waxed Thread
📋 II. Preparation: Materials & Tooling
For a wearable product, fit and finish are everything.
1. Hardware & Materials (BOM):
- Brass: 5.5mm Brass plate (for the metal inlay).
- Leather: 1mm vegetable-tanned leather.
- Hardware: Vintage buckle, hollow rivets, waxed leather thread.
2. Essential Tooling:
- 3.175mm Single Flute Spiral End Mill: Used for brass roughing.
- 2.5mm Ball Nose End Mill: Used for fine relief engraving on the brass plate.
- 1.5mm Single Flute Spiral End Mill: Used for precise leather contour cutting.
💡 Design Key Points:
Stitch Hole Precision: We pre-drill 1.2mm holes via CNC. This guarantees perfectly straight stitching lines that hand-punching can't match.
Metal Inlay: We designed a recessed pocket in the leather to house the 0.8mm thick brass tag, creating a tactile, layered look.

💻 III. CAM Strategy (Machining Parameters)
Here are the parameters:
A. Brass Machining
- Roughing: 1.5mm Stepover | 0.1mm Stepdown | 200mm/min Feed | 13,000 RPM
- Finishing: 0.1mm Stepover | 0.1mm Stepdown | 200mm/min Feed | 13,000 RPM
B. Leather Cutting (Laser Module)
- Cutting Speed: 5 mm/s
- Laser Power: 98%
- Note: Keep the speed high to prevent thermal damage or charring on the leather.

⚙️ IV. Machining Process
-
Brass Engraving: Secure the brass plate with high-strength adhesive or clamps. Don't rush the finishing passes.
- Profile Cutting: Finalize the outer profile of the metal tag.
- Leather Cutting: Secure the leather to a sacrificial board. CNC-drilled stitch holes ensure professional-grade alignment.

🧩 V. Post-Processing & Assembly
- Deburring: Smooth out the brass edges with fine-grit sandpaper for comfort.
- Patina: Lightly polish or oxidize the brass for a retro, "lived-in" feel.
- Hand-Stitching: Thread the waxed leather cord through the CNC-drilled holes for a professional cross-stitch look.
- Hardware: Install the rivets and vintage buckle.

📸 VI. Final Showcase
When the precision-engraved pentagram meets the raw, tactile warmth of leather, the result is it proves how versatile desktop CNC can be.It's not just a bracelet — it's kinetic art for your wrist.

📥 Get the Files
Ready to organize your shop? Download the blueprint files and make your own!
Download via Google DriveOriginal Content by [MAXMAKE] | Equipment Used: HiMill D1S Desktop CNC
HiMill D1 Desktop CNC Machine
€741,95
€872,95
Save €131,00
Learn more
Connect with the MAXMAKE community
Share your projects, discover new ideas, and connect with other makers.
Join Our Community
Share projects, ask questions, connect with makers