DIY Aluminum 3D Printer Upgrades: Desktop CNC Machining Guide
"Every 3D printing enthusiast's nightmare is a structural part suddenly snapping in the dead of night. Today, we refuse ordinary replacements. Using precision desktop machining, we are giving these parts eternal metal life."
Project Overview
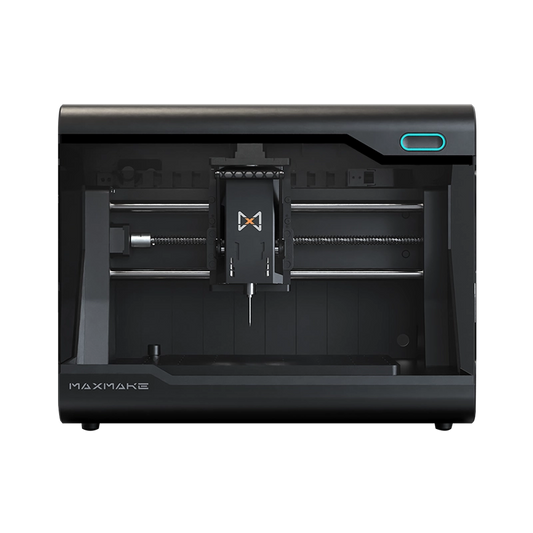
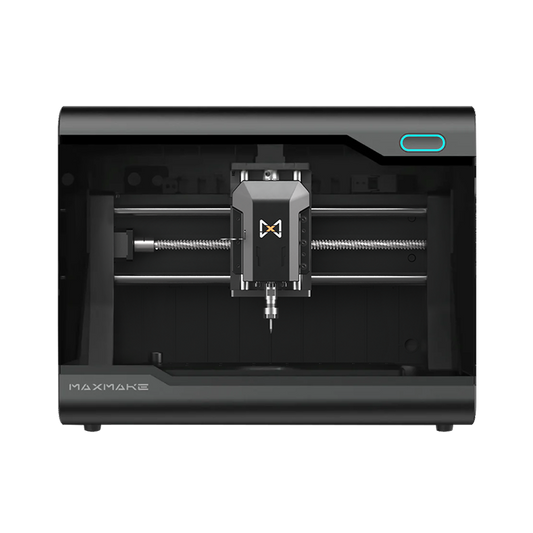
When the original plastic parts of a 3D printer can no longer withstand the stress of high-intensity work and break, upgrading to aluminum alloy is the ultimate solution. Through the high-precision milling capabilities of the HiMill D1S, we replicated and reinforced the fragile plastic components into industrial-grade metal parts, achieving a perfect unity of high rigidity and aesthetics.
| Project Name | 3D Printer Structural Part Aluminum Upgrade |
|---|---|
| Machine Used | MAXMAKE HiMill D1S Desktop CNC |
| Core Material | 170mm x 90mm x 10mm Aluminum Block |
| Final Product | High-strength replacement part for 3D printers |
| Cycle Time | Approx. 6 Hours |
| Difficulty Level | ★★★★☆ (Involves two-sided machining and profiling. High requirements for Z-zero precision) |
Stage 1: Prep & Design
The core of precision machining lies in a deep understanding of geometric features. We used the original STL model provided by the manufacturer and planned the CAM toolpaths in Fusion 360. Based on the aluminum material and the complex 3D contours of the part, we prepared four different end mills to handle everything from large-area roughing to micro-level corner clearing.
Tools & Materials List:

Stage 2: CAM Settings & Parameters
To achieve a mirror-like metal surface while maintaining high efficiency, we developed a strict 4-tool collaborative strategy. A high spindle speed of 13,000 RPM ensures a silky-smooth cutting process.
1. 3.175mm 3-Flute Spiral End Mill (Roughing)
Task: Rapid removal of large material allowances.
Stepdown (DOC): 0.2 mm
Stepover: 1.27 mm
Cutting Feed Rate: 600 mm/min
Plunge Feed Rate: 420 mm/min
Spindle Speed: 13,000 RPM
2. 1.5mm 3-Flute Spiral End Mill (Semi-Finishing)
Task: Milling small holes and tight pockets.
Stepdown (DOC): 0.1 mm
Stepover: 0.675 mm
Cutting Feed Rate: 400 mm/min
Plunge Feed Rate: 400 mm/min
Spindle Speed: 13,000 RPM
3. 2mm Ball Nose End Mill / R1 (Chamfering)
Task: Chamfering contour edges and hole borders.
Cutting Feed Rate: 400 mm/min
Plunge Feed Rate: 400 mm/min
Spindle Speed: 13,000 RPM
4. 2mm Bull Nose End Mill / R0.3 (3D Surface Finishing)
Task: Precision finishing of 3D curved surfaces.
Stepdown (DOC): 0.05 mm
Cutting Feed Rate: 400 mm/min
Plunge Feed Rate: 400 mm/min
Spindle Speed: 13,000 RPM

Stage 3: Machining & Process Control

Stage 4: Post-Processing & Visual Upgrade

The Result
When a cold block of aluminum is transformed into a precision part, the substantial sense of quality is undeniable.

📦 Project Downloads
Upgrade your printer! Download the project files and STL models here.
Download via Google Drive
HiMill D1 Desktop-CNC-Maschine
Connect with the MAXMAKE community
Share your projects, discover new ideas, and connect with other makers.
Join Our Community
Share projects, ask questions, connect with makers