DIY Crystal Clear Acrylic Pen Holder: A HiMill D1S Desktop CNC Challenge🧩✨

Today, I’m using the HiMill D1S Desktop CNC to challenge acrylic machining! By utilizing an ingenious "Puzzle-style Joinery" structure, I’ve created this fully transparent pen holder.
No complicated screws are needed—it assembles just like building blocks, and the cut edges are incredibly clear! Stick around until the end for the "fail-proof" acrylic machining parameters.
🛠️ Project Overview
- Project Name Crystal Clear Puzzle Acrylic Pen Holder
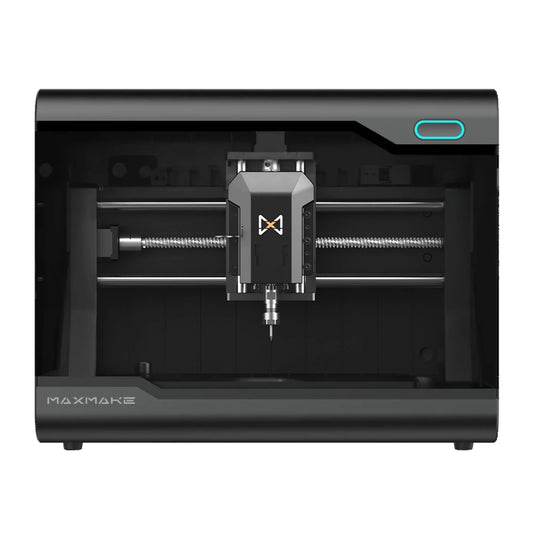
- Equipment HiMill D1S Desktop CNC
- Process Highlights Transparent Cutting + Puzzle Joinery
- Difficulty ⭐⭐ (Parameter Testing Focus)
- Machining Time Approx. 30 Minutes
- Main Material 3mm High-Transparency Cast Acrylic
📋 1. Preparation
To achieve a truly transparent cut, your choice of tooling is the decisive factor.
🧰 Hardware & Materials (BOM)
- Sheet Material: Cast Acrylic.
-
Avoid Pitfalls: Try to avoid "Extruded" boards. Cast acrylic has higher hardness and a higher melting point, which results in cut edges that are much smoother and more transparent.
- Decoration: Various cute stickers or laser decals (as shown in the photos, to add a touch of fun).
- Adhesive: Specialized acrylic glue. (If the joinery is tight enough, you can even skip the glue to achieve a purely physical snap-fit).

🪵 Recommended Tooling(Acrylic-Specific):
- Bit Type: Single Flute Spiral O-Flute End Mill.
- Specification: Recommended diameter 3.175mm (1/8").
- Why? A single-flute bit has a massive flute space that can rapidly evacuate plastic chips and carry away heat. Double-flute bits often lead to heat buildup, causing the acrylic to melt and weld (stick) to the tool.

💻 2. Design & CAM Strategy
Step 2.1 Puzzle Structure Design
-
Design Logic: This pen holder consists of 4 side panels and 1 bottom base.
-
Joinery: I utilized "Finger Joints" or "Puzzle Joints."
-
Tolerance Control: This is the most critical step!
-
If the acrylic is 3mm thick, I recommend designing the slot width at 3.0mm or 2.95mm (for a slight interference fit). This ensures the assembly is very snug, so much so that you might not even need glue.
-

Step 2.2 CAM Parameters (HiMill D1S "Anti-Melting" Secrets)
Many beginners end up with a clump of melted plastic when cutting acrylic. If the parameters are correct, the waste should come out as crisp, snowflake-like chips.
- Spindle Speed 13,000 RPM
- Feed Rate 600 mm/min
- Depth of Cut (DOC) 1.0mm per pass
⚙️ 3. Machining Process
The HiMill D1S processes acrylic very quietly, with only the sound of flying chips filling the air.
-
Workholding: To prevent surface scratches, keep the protective paper on! Cut directly through the paper and the acrylic together. Use double-sided tape to secure the sheet firmly to the machine table.
-
Start Cutting: Watch as the machine precisely carves out every serrated puzzle-style edge.
-
Observation: In conjunction with the single-flute bit, you can see that the waste material consists of dry, white chips rather than viscous, stringy clumps. This is a clear indicator that the machining parameters are set perfectly.

🎨 4. Assembly & DIY
This is the most stress-relieving part—peeling off the film!
-
The Unveiling: Take down the precisely cut acrylic pieces and peel off the protective plastic film from both sides.
-
Effect: Instantly, the ordinary-looking boards transform into something as crystal-clear and radiant as real crystal!
-
-
Assembly: Align the serrated edges (puzzle tabs) of the side panels with the grooves in the base plate and the adjacent side panels. Press down firmly—the "click" as they snap into place is immensely satisfying.
-
Creative Decoration:
-
Since the pen holder is fully transparent, I applied some cute emoji stickers and laser holographic dots to the inside surfaces (or even tucked them within the interlayers).
-
This not only adds a pop of personality but also creates a stunning "floating" visual effect when viewed from the outside.
-

🎉 5. Final Result & Summary
Place your colorful markers inside—through the crystal-clear acrylic, the vibrant colors of your entire desktop instantly come to life.
HiMill D1S Machining Summary:
-
Edge Quality: Just look at the edges in the photos—there’s absolutely no whitening or burrs. They are so transparent that they don't even require flame polishing.
-
Structural Precision: The puzzle-style joints fit together seamlessly, making the overall structure incredibly stable.

DIY Suggestion: Try using Frosted or Fluorescent Acrylic for a completely different aesthetic!
📥 Download The Files
Download Acrylic_Pen_Holder.zip and start your challenge!
Download via Google Drive