[CNC Metalcraft] Machining an Aluminum EDC Playing Card with MAXMAKE HiMill D1S
![[CNC Metalcraft] Machining an Aluminum EDC Playing Card with MAXMAKE HiMill D1S](http://maxmake.com/cdn/shop/articles/maxmake-himill-d1s-desktop-cnc-aluminum-edc-card-75b8-45eb-b59e-615307534852_60ca0db5-c60a-433b-bf21-1541f4f8c16b_1100x.png?v=1784715211)
Coins are cool. But let's make something different. Today, we're pushing the HiMill D1S to make an aluminum EDC playing card. Let's turn cold metal into a pocket fidget toy where every engraved line says "this is mine."
I. Project Overview
| Project Name | DIY Aluminum EDC Playing Card & Slider |
|---|---|
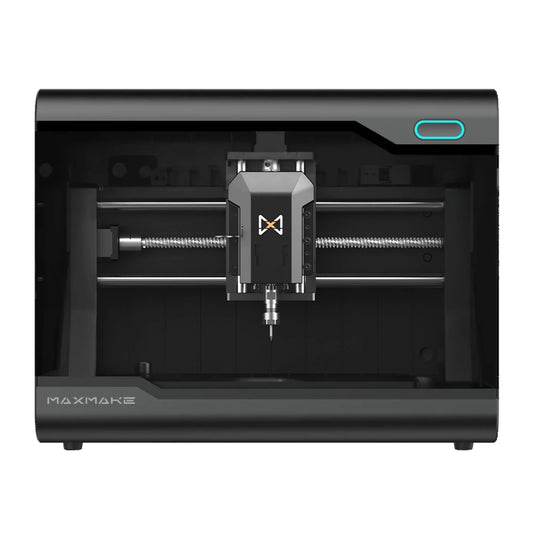
| Equipment Used | MAXMAKE HiMill D1S Desktop CNC |
| Core Principles | High-Precision Aluminum Relief Engraving + Standardized Post-Processing |
|
Use Case
|
EDC fidget toy, desktop display, custom gift
|
| Difficulty Level | Advanced (Great practice for flat relief machining) |
| Cycle Time | Approx. 7 Hours |
II. Prep & Design
The secret to a good EDC card is good feel and clean details. Plan your layout and chamfer settings ahead of time — it'll save you hours.
1. Materials List
2. Tooling Selection (High-Speed Aluminum Set)

III. CAM Settings (Machining Parameters)
These parameters are tuned for aluminum. With small tweaks, they work for most relief patterns.
A. EDC Card Machining
Tool: 3.175mm 3-Flute Spiral End Mill (Metal Roughing)
Stepover (Ae): 1.5 mm
Stepdown (Ap): 0.2 mm
Cutting Feed: 600 mm/min
Plunge Feed: 600 mm/min
Spindle Speed: 13,000 RPM
Tool: 20° 0.2mm Flat Bottom Engraving Bit (Relief Details)
Stepover (Ae): 0.1 mm
Stepdown (Ap): 0.2 mm
Cutting Feed: 300 mm/min
Plunge Feed: 300 mm/min
Spindle Speed: 13,000 RPM
Tool: 2mm Ball Nose End Mill (Edge Chamfering)
Plunge Feed: 300 mm/min
Spindle Speed: 13,000 RPM
B. EDC Slider Machining
Tool: 3.175mm 3-Flute Spiral End Mill (Surfacing)
Stepover (Ae): 1.5 mm
Stepdown (Ap): 0.2 mm
Cutting Feed: 600 mm/min
Plunge Feed: 600 mm/min
Spindle Speed: 13,000 RPM
Tool: 1.5mm 3-Flute Spiral End Mill (Inner Pocketing)
Stepover (Ae): 0.675 mm
Cutting Feed: 500 mm/min
Plunge Feed: 500 mm/min
Spindle Speed: 13,000 RPM
Tool: 2mm Ball Nose End Mill (Chamfering)
Plunge Feed: 300 mm/min
Spindle Speed: 13,000 RPM

IV. Machining Process
The HiMill D1S keeps flat relief accurate to within microns.

V. Post-Processing

VI. Final Showcase: A Card That Says It All
When warm aluminum is reborn through precise CNC carving, an EDC playing card that blends practicality with visual appeal finally reveals its crisp, rugged texture:

📥 Get the Files & Start Making
Ready to test your machine on metal? Download the blueprint files and build your own industrial EDC card!
Download via Google Drive