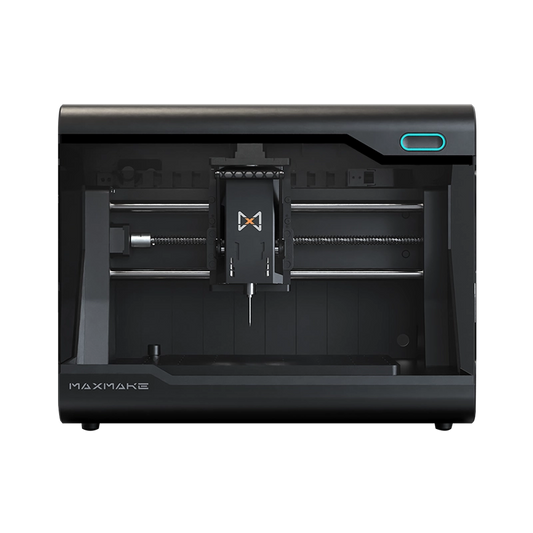
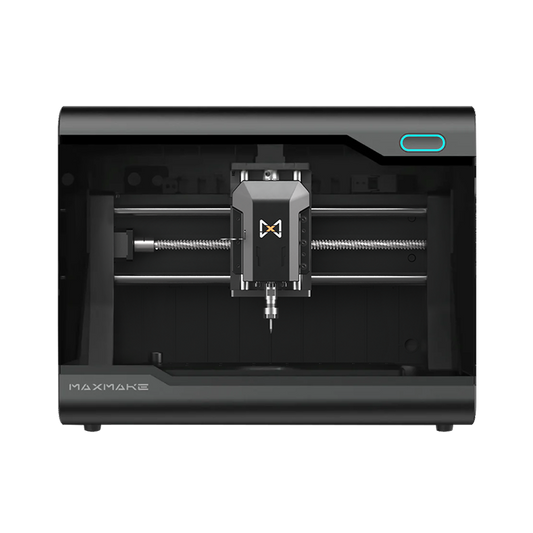
[Foam CNC] How to Machine a Custom EVA Organizer for Your EDC Gear on the HiMill D1S
"No more cluttered desks—let every masterpiece find its perfect home."
A desktop CNC isn't just for metal and hardwood anymore. Today, we're stepping into something different — soft material machining.We're using the HiMill D1S to make a custom EVA foam organizer for our EDC gear.
Project Overview
| Project Name | DIY Custom EVA Foam EDC Organizer Insert |
|---|---|
| Equipment Used | MAXMAKE HiMill D1S Desktop CNC |
| Core Principles | High-RPM Soft Material Milling + Multi-Level Cavity Routing |
|
Use Case:
|
Desktop organization, display, shockproof storage |
| Cycle Time | Approx. 1.5 Hours |
| Difficulty Level | ★★★☆☆ (The main challenge is measuring your parts and getting the tolerances right) |
Prep & Design
The soul of a custom organizer is the "interference fit"—it must be snug but accessible. Before you open CAD, measure your items with calipers and leave a small tolerance gap.
Materials & Tooling List

CAM Settings (Machining Parameters)
For EVA foam: high feed, high RPM. If you move too slowly, the localized friction heat will cause the foam edges to melt, scorch, or leave stringy burrs.
Tool: 3.175mm Single Flute Spiral End Mill
Stepover (Ae): 1.27 mm
Stepdown (Ap): 1 mm (Foam offers minimal resistance, so you can increase the depth per pass safely)
Cutting Feed: 600 mm/min
Plunge Feed: 600 mm/min
Spindle Speed: 13,000 RPM

Machining Process
The D1S's rigid Z-axis keeps depth accurate, and the high-speed spindle cuts through foam like butter.

Post-Processing & Assembly
Foam requires very little post-processing, but a few quick touches make all the difference.

Final Showcase: A Place for Everything
When precision metal parts meet a custom-cut EVA home, the result is more than just a box — it's a maker's badge of honor.

Get the Files & Start Making
Ready to organize your desk? Download the blueprint files and mill your own custom EVA case!
Download via Google Drive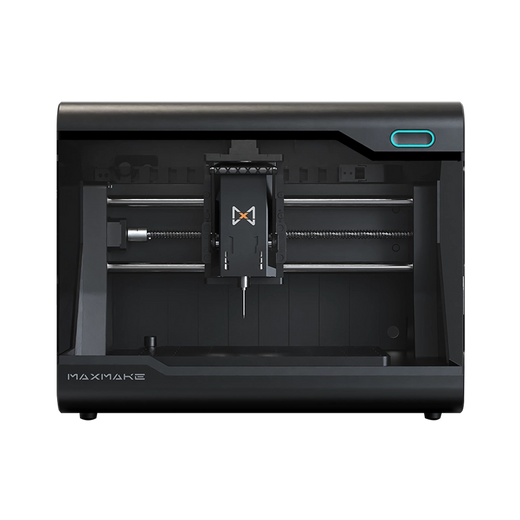
HiMill D1S - Pro Desktop CNC with Ball Screws & QTC
Connect with the MAXMAKE community
Share your projects, discover new ideas, and connect with other makers.
Join Our Community
Share projects, ask questions, connect with makers