CNC Brass Leather Stamps: A Complete Guide for the HiMill D1S 🐾
20 May 2026
0 comments

Desktop CNC isn't just for static parts anymore. Today, we're machining a full collection of brass leather embossing stamps — from cute paw prints to vintage monograms.
With our standardized machining workflow, you can effortlessly create endless custom designs without repeating yourself. Let’s dive in!
⚒️ I. Project Overview
Project Name DIY Brass Leather Stamp Collection
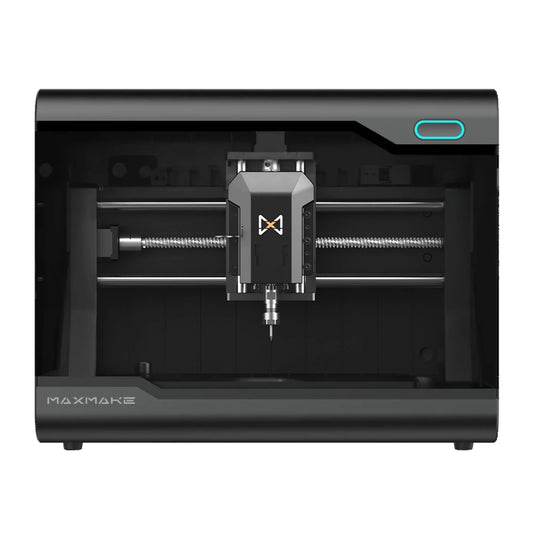
Equipment Used HiMill D1S Desktop CNC
Core Processes Multi-pattern Brass Relief Carving + Standardized Post-Processing
Applications Leather Embossing / Hot Foil Stamping, Brand Logos, Custom Gifts
Difficulty ★★★★☆ (Advanced — requires different tooling for each pattern geometry)
Cycle Time Approx. 0.5 Hours per stamp (Batch machining saves time)
🎨 II. Prep & Design
The idea behind this collection: a standard workflow that works for any design. Plan your layout ahead of time and it saves hours.
1. Materials List:
•
Brass Stock: 5mm thick. We used 25x25mm squares and 30mm diameter rounds (You can batch multiple stamps on a larger board and adjust sizes as needed).
•
Stamping Accessories: Adjustable electric branding iron (Compatible with different stamp sizes).
•
Polishing Supplies: Assorted sandpaper (400-2000 grit), polishing compound, buffing pads.
2. Essential Tooling (Universal for all designs):
•
1.5mm Single Flute Spiral End Mill: For brass roughing and profile cutting.

⚙️ III. CAM Strategy (Machining Parameters)
These parameters work for all the patterns shown here. With small tweaks, they adapt to different details — beginner-friendly.
Brass Machining (Universal Settings):
•
Tool: 1.5mm Single Flute Spiral End Mill (Metal-specific)
•
Spindle Speed: 13,000 RPM
•
Cutting Feed Rate (XY): 100 mm/min
•
Plunge Feed Rate (Z): 100 mm/min
•
Stepdown (Depth per pass): 2 mm
•
Stepover: 0.1 mm
💡 Pro Tip: Draft Angles
When designing 3D models for leather stamping, ensure your relief has a slight draft angle (taper) rather than perfectly vertical walls. This makes the stamp release from the leather cleanly and prevents sticking during hot embossing!

🛠️ IV. Machining Process
The HiMill D1S keeps every stamp accurate — even in batch runs.
1.
Workholding: Use a low-profile vise or toe clamps. This keeps positional deviation under 0.01mm across all patterns.
2.
Batch Roughing: Run the toolpaths to machine all stamps on the board. This removes the bulk material in one go, quickly defining the shape of each stamp.
3.
Unified Profile Cutting: Use the single flute end mill to cut the outer contours of all the stamps. The edges come out smooth and burr-free, laying a perfect foundation for the polishing stage.

✨ V. Post-Processing & Assembly
A clean post-processing routine gives every stamp the same high-quality finish.
1.
Deburring: Use 400-grit sandpaper to smooth the outer edges, removing any machining marks. Progress to 800-1200 grit to refine the finish and prevent scratching the leather during stamping.
2.
Mirror Polishing: Sand the relief surface with 1500-2000 grit paper, then follow up with a buffing pad and polishing compound to achieve a mirror finish. The smoother the surface, the crisper and cleaner the embossed impression will be.
3.
Handle Installation: Attach a universal handle (or electric iron attachment) to each stamp. Use a non-slip washer and screw for a secure fit, making it ready for both manual hammering and heat pressing.
4.
Test Embossing: Test each stamp on scrap leather. Adjust the polishing details or pressing pressure to ensure a clear pattern and smooth release.

📸 VI. Final Showcase: A Stamp for Every Style
When these diverse brass stamps are pressed into the warm, tactile leather, every single impression sparks a unique vibe:
•
Paw Print: Soft, rounded lines give a cute, friendly look — great for keychains and pet tags.
•
Vintage Symbols: Sharp textures on distressed leather = retro-industrial. Perfect for journal covers.
•
Lettering / Logo Stamps: Custom monograms give each piece a unique identity and elevate the brand instantly.
•
The Collection Advantage: One set of stamps allows you to switch between multiple styles effortlessly. Whether for personal crafting or custom gifts, there's a design for every occasion.
💡 HiMill D1S Review:
This stamp collection proves the HiMill D1S is the real all-rounder:
1.
Batch Machining Stability: When machining multiple stamps on the same board, the repeatability is exceptional. The size and depth of every pattern are perfectly consistent, requiring zero recalibration.
2.
Detail Reproduction: From rounded paw prints to razor-sharp symbols, the machine perfectly replicates the minutest details. Lines are crisp, and the relief surface finish is superb.
3.
Limitless Creativity: If you can draw it, the D1S can turn it into a practical leather stamp. Easily build your own custom collection and unlock endless possibilities in leathercrafting!
📥 Get the Files
Start your leathercraft journey—download the design files now!
Download via Google Drive
Tags: