[Hardcore CNC Build] Zero Melting! DIY Cyberpunk Acrylic Lamp with HiMill D1S 💡⚡
![[Hardcore CNC Build] Zero Melting! DIY Cyberpunk Acrylic Lamp with HiMill D1S 💡⚡](http://maxmake.com/cdn/shop/articles/MAXMAKE-himill-d1s-cyber-lamp-yellow-acrylic_0b811de0-f770-4b64-b29a-2b921634b58e_1100x.webp?v=1779681770)
Master the art of cutting high-transparency acrylic with zero chip welding. We're sharing the fail-proof parameters and free files to build this interlocking desk lamp!
Melting and frosting when machining acrylic? Not today! In this project, we're using the HiMill D1S desktop CNC to cut high-transparency yellow acrylic, utilizing precise interlocking joinery to build a futuristic "Cyber Lamp". We are holding nothing back and sharing the actual tested parameters to prevent your bit from gumming up. Copy these settings, and your cut edges will come out mirror-clear.
🌟 I. Project Overview
- Project Name: DIY Cyber Lamp (Interlocking Acrylic Art)
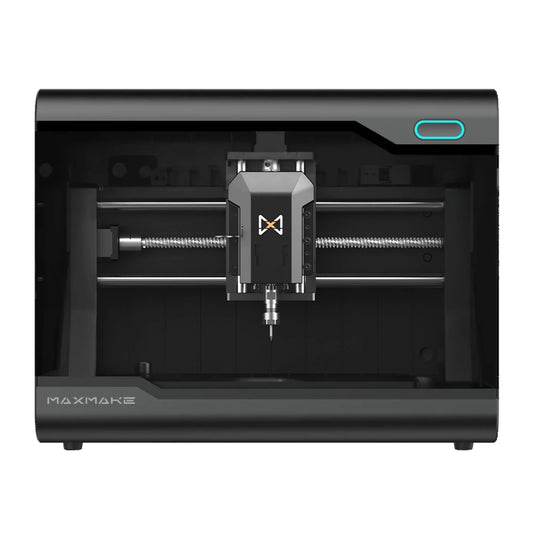
- Equipment Used: HiMill D1S Desktop CNC
- Mechanism: 2D Profile Cutting + Slot Interlocking (Glue-free!)
- Main Material: High-Transparency Yellow Acrylic Sheet (3mm or 5mm recommended) + E27 Light Socket & Bulb

🛠️ II. Core CNC Parameters (Tested & Proven)
The absolute key to machining acrylic successfully lies in "chip evacuation and cooling." Avoid 2-flute end mills at all costs! Here is the exact data for a perfect cut that you can copy directly:

⚙️ III. Minimalist Build Steps
1. Secure Workholding (Crucial)
Acrylic is highly prone to slipping and vibrating. Your workholding method depends on the stock size:
- Large Stock (e.g., 290x210mm): You MUST use the famous "Blue Tape & CA Glue" trick to secure it to the wasteboard. This prevents the center areas from vibrating or lifting during cuts.
- Small Stock (e.g., 200x100mm): Traditional toe clamps around the edges will do the job perfectly.
2. Precision CNC Cutting
Import the design files and fire up the HiMill D1S.

Paired with a 1.5mm single-flute end mill and air assist, the evacuated waste should look like dry, white powder/chips, NOT a melted, stringy mess. The cut edges will have a natural transparency right off the machine, requiring zero flame polishing!

3. Deburring & The Peeling Ceremony
- Off the machine: Use 400-grit fine sandpaper to gently scuff the edges, knocking down any sharp micro-burrs.
- The satisfying moment: Peel off the protective film from both sides of the acrylic, and that high-transparency gloss is instantly revealed.
4. Interlocking Assembly
Following the design slots, cross-insert the center brackets and the surrounding panels one by one. Because the CNC cutting tolerances are so incredibly tight, the parts achieve a perfect interference fit (friction fit)—no glue required! Finally, drop in the metal socket and a vintage Edison bulb.

🎉 IV. Final Showcase
Power it up! The warm tungsten light pierces through the yellow acrylic panels, casting a stunning, geometric, radial shadow across the desk.
Thanks to the precise cutting of the HiMill D1S, plain acrylic sheets are transformed into a design-forward piece of home decor. The project files are linked below—go add some Cyberpunk vibes to your desk setup!