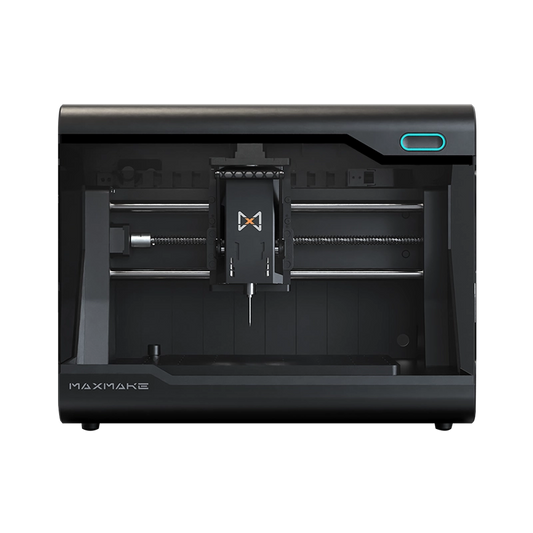
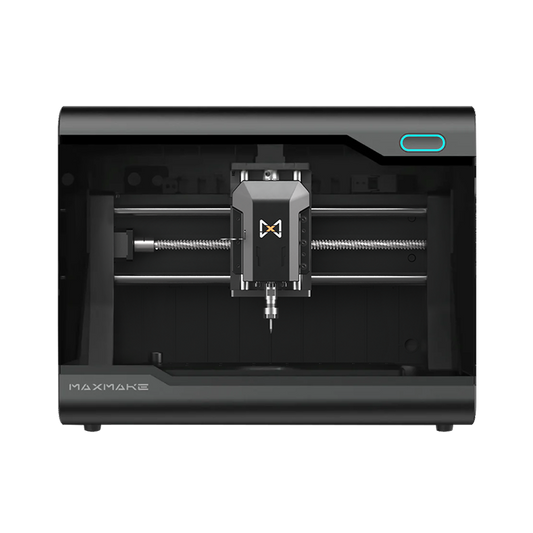
[CNC Inlay] DIY Resin & Acrylic Mosaic Coasters with MAXMAKE HiMill D1S 🎨
Wood pocketing meets precision acrylic cutting! Learn how to achieve a seamless interference fit with the HiMill D1S desktop CNC to create stunning, waterproof art coasters.
Project Overview
- Project Name: Mosaic "Famous Art" Coasters
- Equipment Used: HiMill D1S Desktop CNC
- Core Process: Wood Pocket Milling + Precision Acrylic Cutting + Epoxy Resin Pouring
- Features: Seamless fit, vibrant colors, waterproof and practical.
- Cycle Time: Approx. 6 Hours (for machining and assembling 4 coasters, excluding resin cure time).
- Main Materials: 12mm Pine Wood Board + 3mm Multi-color Acrylic Sheets

Preparation: Materials & Tooling
This project demands specific tooling for fine details. We prepared dedicated "weapons" for both the wood and the acrylic.
1. Bill of Materials (BOM):
- Base: 12mm Pine Wood. It's relatively soft, making it easy to mill a smooth, flat pocket.
- Mosaic Pieces: 3mm Colored Acrylic (High transparency).
- Sealant: 2-Part Epoxy Resin (Clear AB glue).
2. Core Tooling Configuration:
- For Wood: 3.175mm Single Flute Spiral End Mill (Great for fast, large-area pocketing with excellent chip evacuation).
- For Acrylic: 1.5mm Single Flute Spiral End Mill (Perfect for cutting ultra-fine frame lines and tiny mosaic fragments).

Core CAM Parameters (No Secrets Withheld)
To get the wooden pockets and acrylic pieces to fit "seamlessly," your parameter settings are the soul of the project. Here are the top-secret, tested parameters based on the HiMill D1S:
Step 1: Milling the Pine Base (Wood Pocketing)
We need to mill a square pocket about 3.5mm deep into the pine to house the acrylic pieces.
- Tool: 3.175mm Single Flute Spiral End Mill
- Spindle Speed: 13,000 RPM
- Cutting Feed Rate (XY): 800 mm/min
- Plunge Feed Rate (Z): 800 mm/min
- Step Down (Depth per Pass): 1 mm
- Chip Evacuation: Turn on the air assist!


Step 2: Precision Cutting Acrylic Puzzle Pieces
This is the tricky part! The parts are tiny, and preventing the bit from melting/gumming up is crucial.
- Tool: 1.5mm Single Flute Spiral End Mill
- Spindle Speed: 13,000 RPM
- Cutting Feed Rate (XY): 500 mm/min
- Plunge Feed Rate (Z): 500 mm/min (Slow down the plunge to prevent corner chipping)
- Step Down: 1 mm

The Satisfying Assembly (Inlay Time)
Once all parts are off the machine, we arrive at the best part!
- Peeling Film: Peel the protective film off the tiny acrylic pieces to reveal their vibrant, true colors.
- Frame Insertion: Press the black acrylic "frame" outlines into the pine pocket first. Thanks to the extreme precision of the HiMill D1S, no sanding is needed—the frame snaps in with a satisfying "click"! 🤤
- Coloring the Puzzle: Just like a miniature jigsaw puzzle, fill the corresponding grid spaces with the red, yellow, and blue acrylic pieces. You can use a tiny drop of craft glue at the bottom to secure them.
Injecting the Soul: Epoxy Resin Pouring
To make this a truly waterproof and practical "coaster," we need one final step.
- Mixing: Mix the high-clarity 2-part epoxy resin according to the ratio and let it sit to degas.
- Pouring: Slowly pour the resin into the assembled coaster until it just covers the acrylic surface and is flush with the wooden rim.
- Bubble Removal: Quickly sweep a heat gun or lighter over the surface to pop any micro-bubbles.
- Curing: Place it in a dust-free environment and let it cure for 24 hours.

Final Showcase
Once cured, the surface of the coaster is as smooth and clear as glass. The resin not only protects the wood and acrylic beneath but also makes the colors look deeper and more saturated. Whether it's Van Gogh's Starry Night or Mondrian's color blocks, they are perfectly captured in this small square.
HiMill D1S Review: Mixed-material inlay is the ultimate test of CNC precision. The D1S performed flawlessly here. With tolerance control down to hundredths of a millimeter, what is usually a complex wood-inlay process turned into a relaxing and satisfying "puzzle game."


HiMill D1 Desktop CNC Machine
Connect with the MAXMAKE community
Share your projects, discover new ideas, and connect with other makers.
Join Our Community
Share projects, ask questions, connect with makers