HiMill D1S Project Guide: Laser Etching Custom Black Poker Cards (Dark Aesthetics)♠️🔥

Bored of traditional red-and-white poker decks? Today, we’re taking "cool" to the next level. In this project, I’ll swap the spindle on the HiMill D1S for the 10W Laser Module to "etch" a high-texture, dark-aesthetic poker deck onto premium black cardstock. From intricate pattern ablation to final profile cutting, the entire process is automated by the HiMill D1S. Stick around until the end for our tested laser power and speed parameters!
🛠️ Project Overview
- Project Name Dark Knight Laser Etched Poker
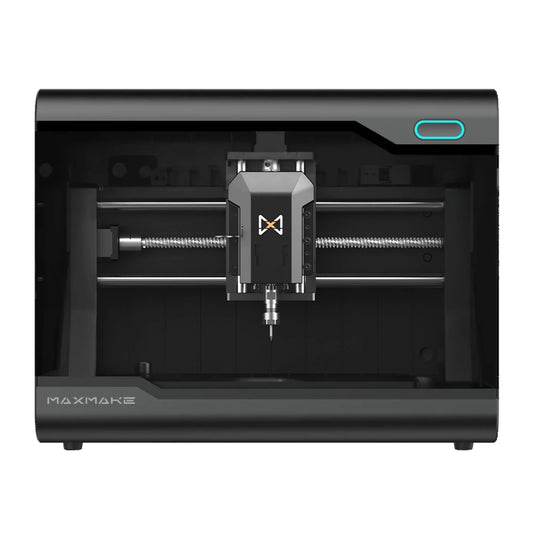
- Equipment HiMill D1S + 10W Laser Module
- Process Laser Ablation, Vector Etching
- Difficulty ⭐⭐ (Parameter testing)
- Machining Time 3-10 minutes per card
- Material 350gsm Matte Black Cardstock
📋 1. Preparation
The secret to this project is the paper choice. Ordinary black paper might just char; you need premium cardstock that reveals a crisp grey or golden-brown residue after ablation to create sufficient contrast.
Bill of Materials (BOM):
- Material: 350gsm Matte Black Cardstock. Choose high-density, non-coated virgin pulp paper.
- Workholding: Magnetic clamps or painter's tape to ensure the paper lies perfectly flat.
- Safety: Laser safety goggles (Mandatory!) + Smoke exhaust fan.

Equipment Setup:
- Remove the spindle assembly from the HiMill D1S.
- Mount the 10W Laser Module and connect the control interface.
💻 2. Design & CAM Setup (LightBurn)
The laser workflow is split into two operations: Surface Engraving (Fill) and Profile Cutting (Line).
Step 2.1: Vector Graphic Design
- Pattern Design: High-contrast vector graphics for a sharp look.
- Color Inversion: Since the base material is black, ablated areas appear lighter. Design with a "Negative Effect" in mind.

Step 2.2: 10W Laser Settings (Tested)
Optimized for 350gsm cardstock to achieve high detail without burning through:
- Surface Engraving: Power 10%, Speed 30 mm/min, Interval 0.1 mm.
- Profile Cutting: Power 80%, Speed 5 mm/min, 1 Pass.
💡 Pro Tip: Before processing the full deck, always run a "Material Test" on scrap pieces to find the perfect contrast balance.
⚙️ 3. The Laser Process
Put on your safety goggles and watch the precision in action!
- Focusing: Adjust the laser head distance for the smallest possible focal spot.
- Framing: Run a boundary preview to ensure the design is centered.
- Machining: The software scans the internal patterns first, followed by the final profile cut.

🎨 4. Details & Post-Processing
Freshly cut cards may have a trace of carbon dust. A gentle wipe with a lint-free cloth reveals the sophisticated finish.
- Tactile: You can physically feel the depth of the engraving—a premium sensation.
- Visual: The black background absorbs light while the etched areas reveal a matte grey/brown finish.

🎉 5. Conclusion
There you have it—a custom "Black Knight" poker deck made entirely on the HiMill D1S. With the laser kit, the HiMill becomes a high-precision engraver for paper, leather, and more. If you're a geek maker, this design is a must-try!
📥 Download The Files
Want to make your own? Download the design files and make it today!
Download via Google DriveOriginal Content by MAXMAKE | Machine Used: HiMill D1S
If you enjoyed this project or have any questions, let us know in the comments below!