DIY Laser Cut Rocking Horse Clock Project (HiMill D1S) | MAXMAKE🐴🕰️

With the Lunar New Year of the Horse approaching in 2026, what better handmade gift than a whimsical "Rocking Horse" clock? In this tutorial, we are retrofitting the HiMill D1S Desktop CNC with its laser module attachment. Utilizing laser vector cutting technology, we will assemble multi-layered plywood to create this retro-modern desktop clock. Compared to traditional CNC milling, laser cutting offers cleaner sharp corners and distinctively caramelized edges. Design file downloads are included at the end!
🛠️ Project Overview
- Project Name 2026 Year of the Horse Limited Edition · Rocking Horse Clock
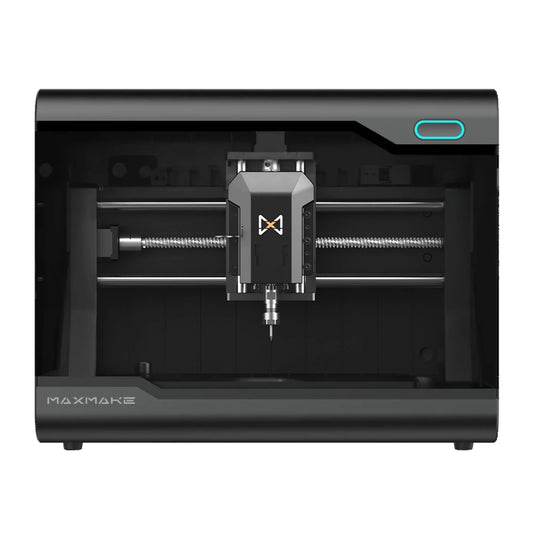
- Equipment Used HiMill D1S Desktop CNC + Laser Processing Module
- Process Features Laser vector cutting, multi-layer stacking, color assembly
- Finished Function Desktop clock + 2026 New Year decor
- Difficulty Level ⭐⭐ (Beginner-friendly, primarily tests mastery of laser parameter settings)
- Machining Time Approx. 50 mins cutting + assembly
- Main Material 3mm and 5mm Basswood Plywood
📋 1. Preparation
This clock utilizes a "sandwich" layered structure, stacking materials of different colors to achieve dimensionality.
Hardware Materials (BOM):
- Board A (Main Body): 5mm Basswood Plywood, used for the horse body structure.
- Board B (Base): 5mm Basswood Plywood or Acrylic, used for the rocking base mechanism.
- Board C (Clock Face): 3mm Basswood Plywood, used to contrast with the red clock hands.
- Decorative Parts: [As per design]
- Movement: Silent Quartz Clock Movement Mechanism + Red/Black hands.
- Auxiliaries: Wood glue, Masking tape (essential for preventing laser charring/scorching on wood surfaces).
Equipment Switchover:
- Mode Switching: Remove the spindle tooling and retrofit the 10W Laser Module.
- Advantages: For cutting complex curves and tight internal sharp corners (such as the horse's mane and ears), the laser is more agile than a milling bit and eliminates the need to consider tool radius compensation.

💻 2. Design & Laser Strategy
Step 2.1 Layered Design Concept
To avoid a flat, monotonous appearance and add visual depth, I broke the clock design down into three distinct layers:
- Bottom Layer (Base): Black rocking arc base, providing stable structural support.
- Middle Layer (Body): Main horse body structure, featuring a central cutout to accommodate the clock face insert.
- Top Layer (Face): White clock dial scale ring.
Step 2.2 Laser Cutting Parameters
Using 3mm Basswood Plywood as an example (utilizing the HiMill D1S 10W Laser Module):
-
Vector Cutting (Profile/Outline):
- Power: 90%
- Speed: 5mm/min
- Pass Count: [1-2] passes (adjust based on material hardness variations)
Technique for Preventing Surface Charring/Scorching:
CRITICAL TIP! Before initiating the cut, I applied a full layer of masking tape (transfer tape) over the surface of the plywood workpiece. After laser processing, peeling off the tape reveals a perfectly pristine wood surface free of smoke residue or scorch marks. Only the edges retain that beautiful, distinct dark brown carbonized kerf.

⚙️ 3. Making Process
The HiMill D1S transforms into a laser cutting machine—let's begin!
- Cutting the Horse Body: The laser beam follows the intricate lines of the mane vector paths. Compared to traditional CNC routing, laser cutting produces no wood chips or dust, releasing only a faint wood scent.
-
Cutting the Clock Face: Precisely cutting the circular dial and digital markers.
- Detail Note: For the numerical markers, I selected the "Half-Cut / Score Line" technique (or kiss cut) to give the red digits a more dimensional appearance without cutting through.
- Cutting the Base: Cutting the black rocking arc base component.

🎨 4. Assembly & Decoration
Assemble the components like a 3D puzzle.
- Bonding: Using wood glue, secure the horse body structure onto the black rocker base. Pay close attention to maintaining the center of gravity balance.
- Installing the Movement: Insert the clock movement mechanism through the back of the horse body, then mount the white-background-red-numeral clock face from the front.
-
Finishing Touches:
- Install the red hour and minute hands; the contrasting colors create visual impact.
- Adhere the cute yellow "Yuanbao" (gold ingot) charm onto the horse's back.

🎉 5. Final Result Showcase
Behold! A whimsical "2026 Year of the Horse Rocking Clock" is born.

HiMill D1S Laser Mode Experience Notes:
- Clean Edges: Laser-cut edges possess a natural polished effect, requiring absolutely no post-process sanding.
- Rich Details: The sharp corner details of the horse mane are processed extremely crisply, a feat difficult to achieve with standard cylindrical CNC milling bits.
Gifting Guide:
This is more than just a clock; it's a beautiful blessing for 2026—symbolizing "Taking the lead, achieving immediate success" (a Chinese idiom related to horses). Whether as a gift for friends born in the Year of the Horse or as a general New Year's present, it's full of heartfelt sentiment.
📥 Attachments Download
Get the design files and start making!
File shared via cloud storage: Rocking Horse Clock.zip
Download via Google Drive